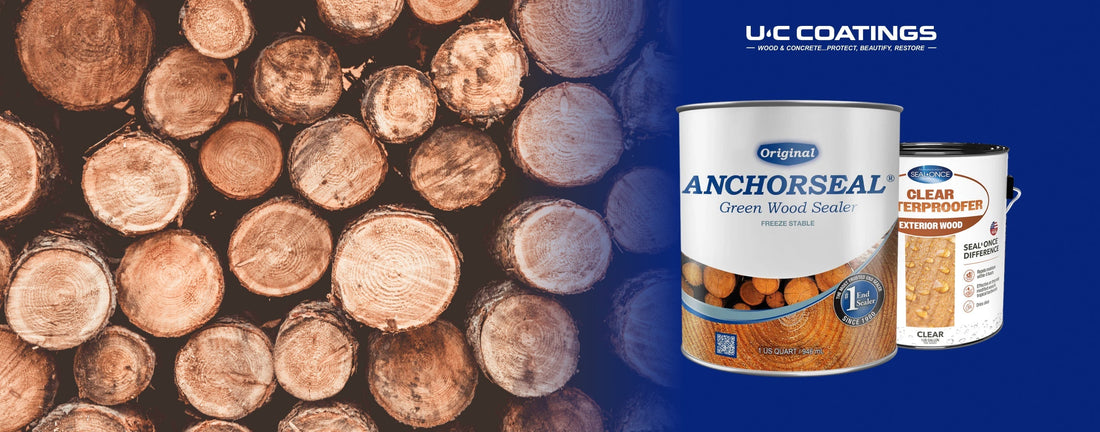
Live edge slabs make killer furniture pieces. The natural wood edges give any project that rustic, high-end look everyone wants these days.
But here's the thing about fresh-cut wood. Skip the sealing step and your expensive slab turns into expensive firewood. Live edge work isn't regular lumber. These slabs cost serious money. You can't afford to mess up the sealing process.
This guide covers everything you need to know about protecting your investment. We'll walk through why sealing matters, proper preparation techniques, product selection, and step-by-step application methods.
Why Must You Seal Freshly Cut Wood?
Think of fresh wood like a bundle of drinking straws. When you cut it, those tubes are wide open at the ends. Moisture rushes out fast through the end grain.
Here's what happens without sealing:
Checking and splits destroy your slab. End grain dries way faster than the sides. This creates stress that cracks the wood. We're talking about splits that can ruin the entire piece.
Warping ruins your project. Warping can take place in slabs less than 2 inches. When ends dry faster than the middle, the wood twists. Picture a wet towel drying unevenly. Same principle, bigger problem.
Surface cracks follow grain lines and often go deep into the wood. To prevent surface checking, keep slabs out of direct sunlight during the drying process.
The fix is simple. Seal the ends right after cutting. This slows moisture loss so wood dries evenly.
How Do You Prepare a Slab for Sealing?
Prep work determines success or failure. Rush this step and even great products won't save you.
Clean everything first:
- Remove all sawdust from end grain
- Check live edges for loose bark
- End grain seal can be applied to the edges where bark is missing, but never to the surface
Look for existing damage. Once a check has already occurred, sealing can prevent it from getting bigger but won't eliminate it. For best results, apply ANCHORSEAL immediately after cutting before checks develop.
Work fast after cutting. Time matters with fresh wood. Seal those ends within hours of cutting. Even a day of waiting can let checking start.
Set up proper support. Use sawhorses or a stable bench. You need access to all edges without the slab moving around.
How to Seal Live Edge Wood: Understanding ANCHORSEAL
The key to protecting freshly cut slabs is ANCHORSEAL Classic. This isn't a finish - it's temporary protection for drying wood.
What ANCHORSEAL does:
- Stops up to 90% of end checks
- Water-based with easy cleanup
- No harsh chemicals or solvents
- Works on hardwoods and softwoods
Application is dead simple. Brush, roll, or spray until it starts dripping slightly. For wide slabs over 24 inches, use a heavy coat or apply twice within 15 minutes.
The key is covering all exposed end grain completely. Missing spots create weak points where cracks can start.
Important note: ANCHORSEAL is a wax emulsion that cannot be painted or stained over. It's designed to be removed during final sanding before applying your chosen finish.
Step-by-Step ANCHORSEAL Application
1. Apply ANCHORSEAL immediately after cutting
Cover all end grain within hours of cutting. This is when moisture loss happens fastest. Apply until it begins to drip slightly from the surface.
2. Handle live edges carefully
Remove loose bark first. Stable bark can stay and acts as a natural sealer. Seal any areas where bark is missing.
3. Allow proper drying time
Keep sealed slabs flat and supported in a controlled environment. ANCHORSEAL slows drying but doesn't stop it completely. This prevents rapid checking while wood acclimates to your workshop conditions.
4. Remove ANCHORSEAL before finishing
Sand the end grain areas during final prep work. ANCHORSEAL can also be removed with hot water, mild detergent, and a scrubbing pad. Wipe off any remaining water after scrubbing. ANCHORSEAL must be removed before applying stains, paints, or clear finishes. The wax emulsion won't accept other coatings on top of it.
5. Apply your chosen finish
Once ANCHORSEAL is sanded or scrubbed away, treat the wood with your preferred stain or clear finish. For interior projects, use appropriate furniture finishes. For exterior applications, consider products designed for outdoor use.
For complex grain patterns, our advanced finishing techniques guide covers specialized application methods.
Caring for Sealed Slabs
Properly sealed slabs need minimal upkeep:
- Clean with mild soap and water only
- Reapply CLEAR WATERPROOFER every 2-3 years outdoors
- Fix small scratches quickly to prevent water damage
- Keep indoor pieces away from heat sources
Regular maintenance extends the life of your investment. Check out our wood maintenance schedule for seasonal care tips.
The Bottom Line
Sealing fresh-cut slabs isn't optional. It's the difference between a family heirloom and expensive kindling.
ANCHORSEAL Classic handles immediate protection. CLEAR WATERPROOFER provides long-term defense. Together, they give you professional results that last decades.
The techniques covered here work for any species. From walnut dining tables to cedar outdoor benches, proper sealing protects your time and money.
Ready to protect your next live edge project? Browse our complete wood sealing products and get the professional-grade protection your slabs deserve.


