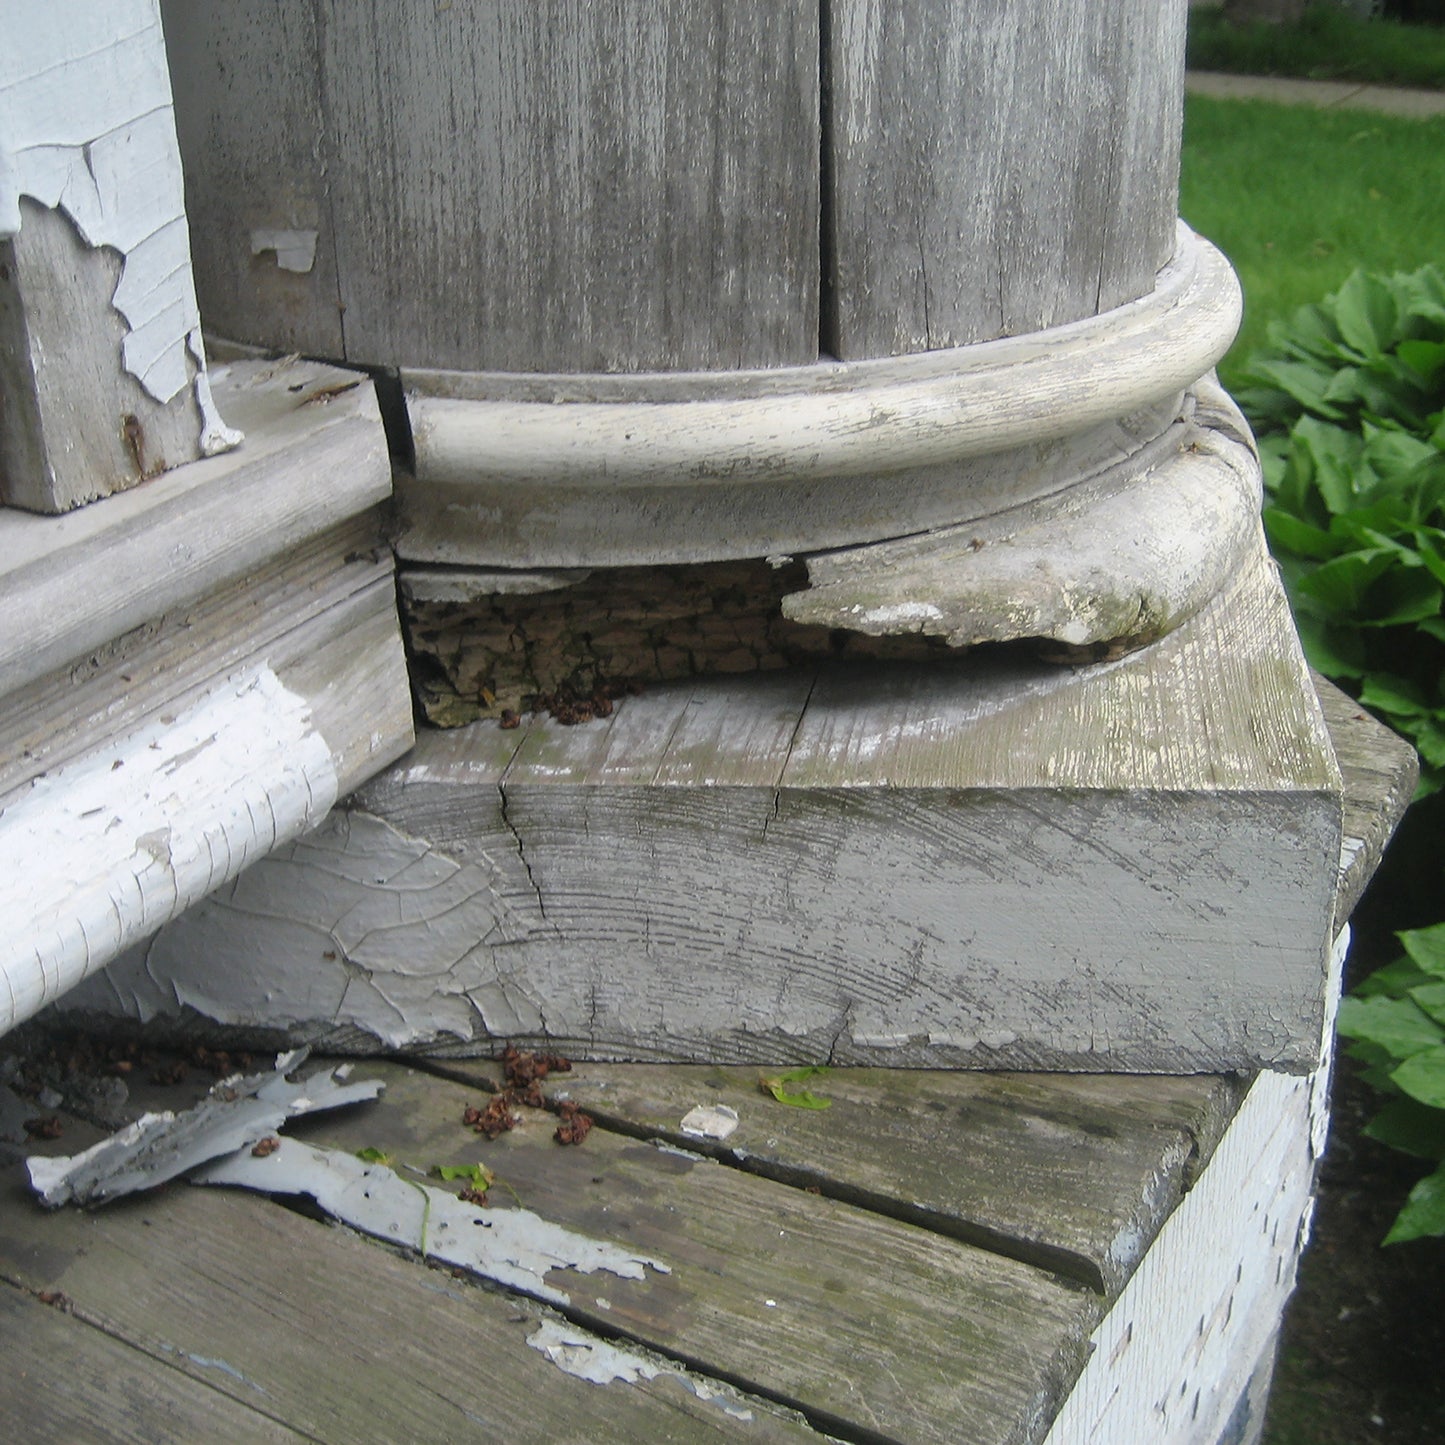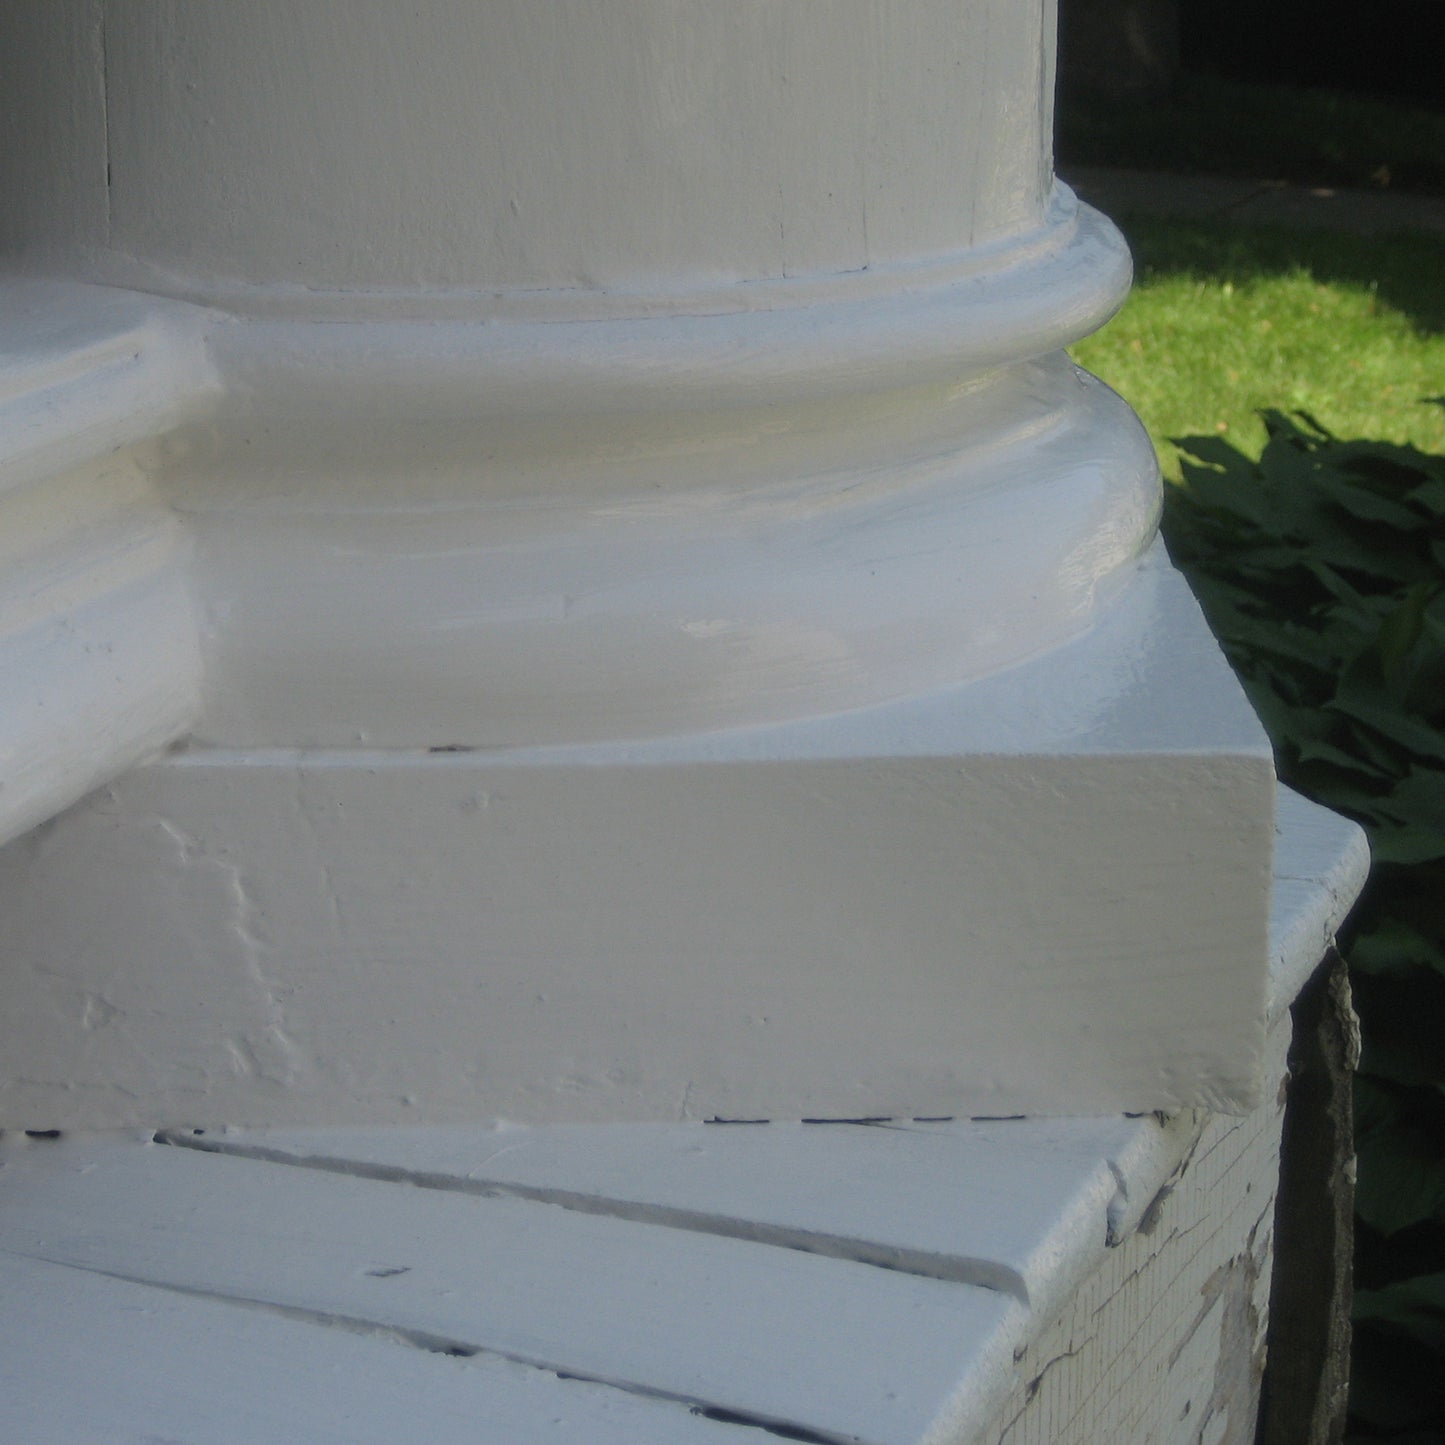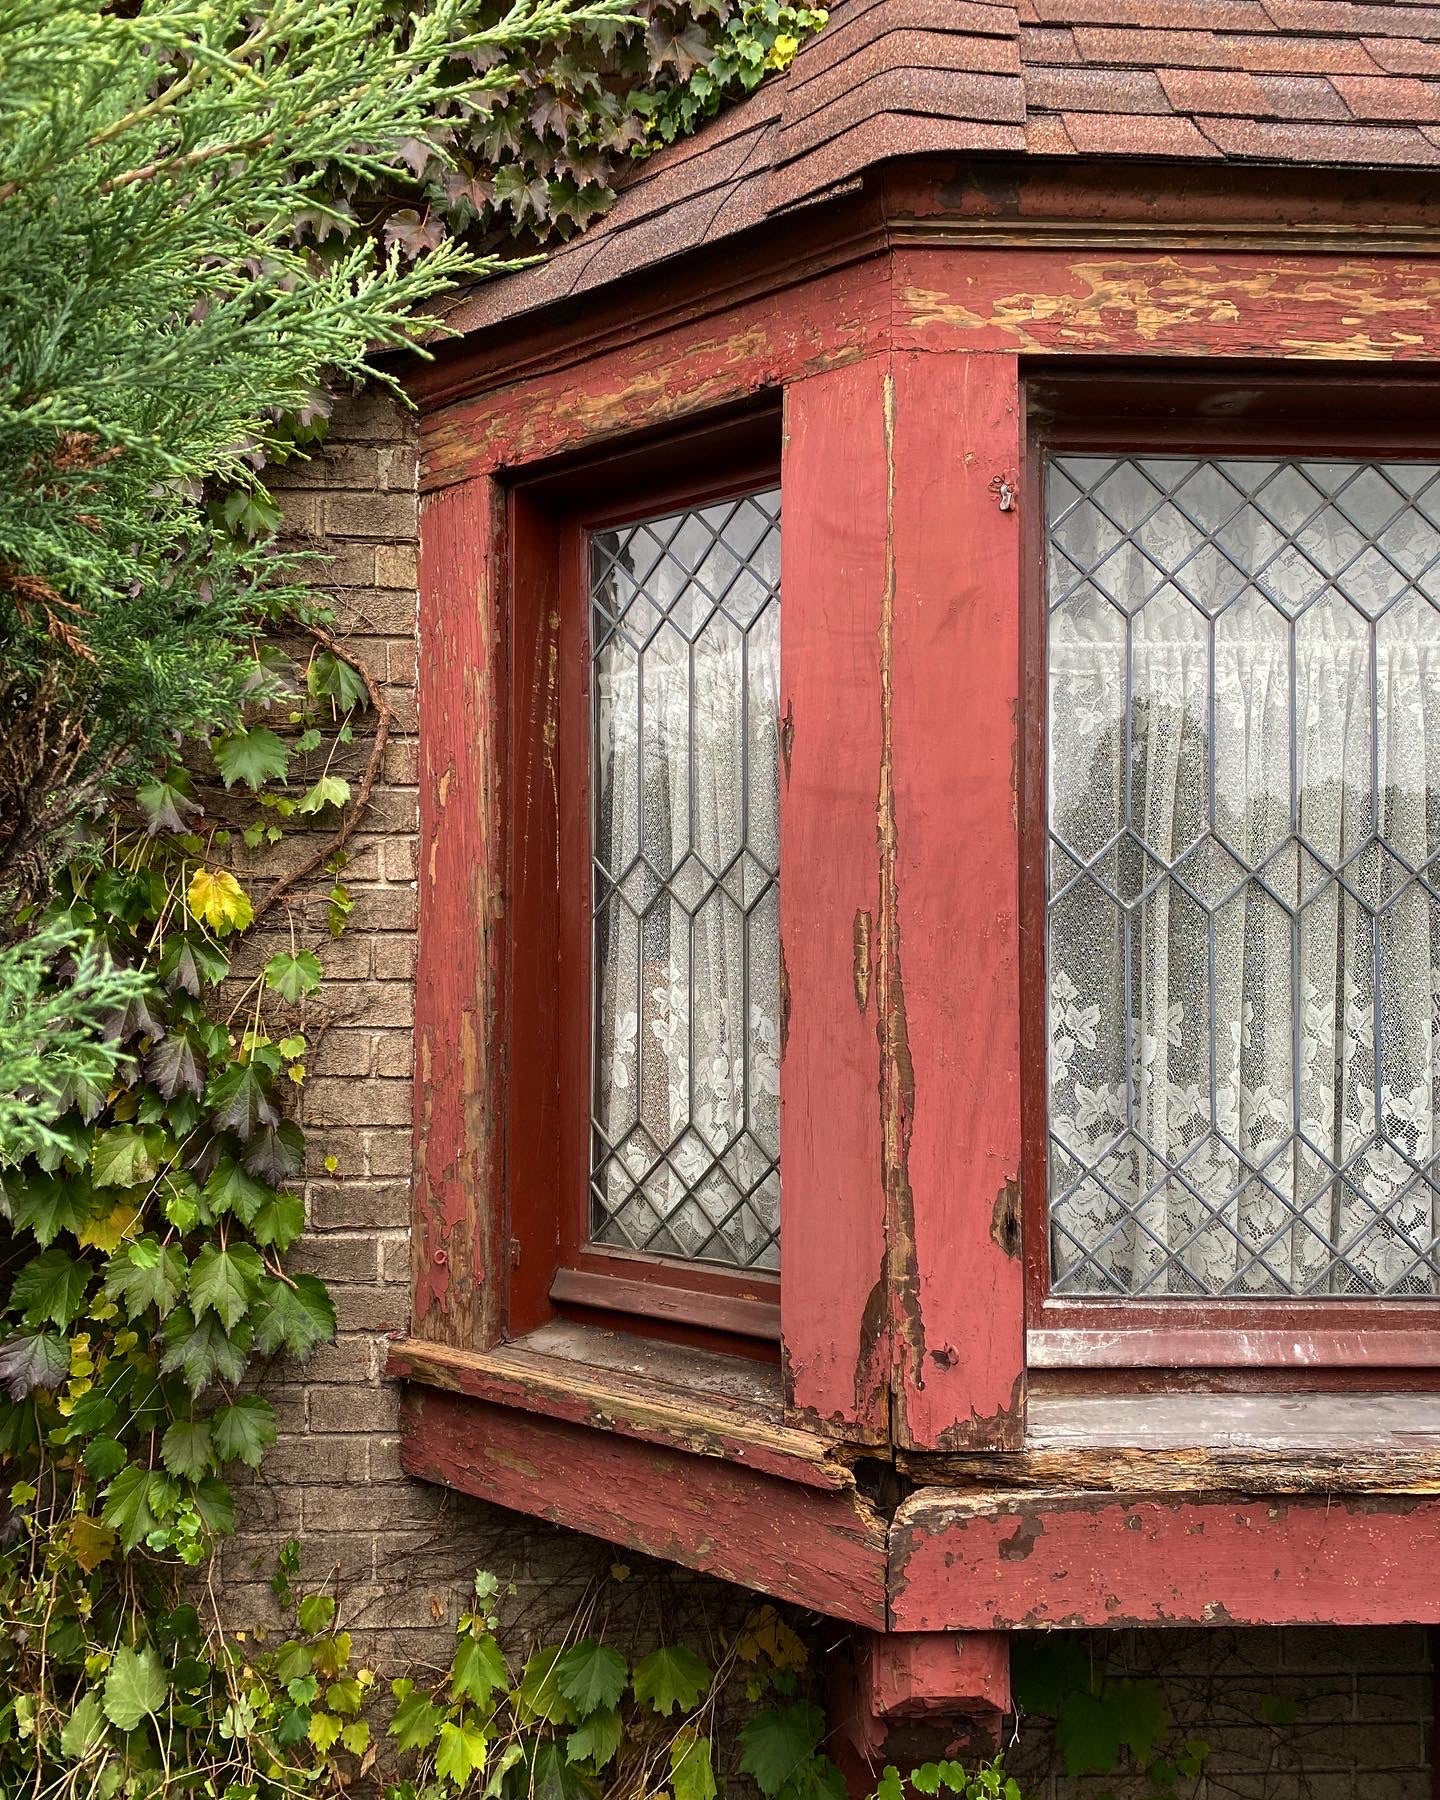


Your window sill is soft in one corner. You press a screwdriver into it and the tip sinks in further than it should. The wood isn't gone, but it's failing. The question most people ask at this point is wrong. They ask whether to replace it. The right question is whether it's worth saving.
In most cases, it is. Replacing a wood window sill, porch column, or door frame is expensive, time-consuming, and often unnecessary. If sound wood still surrounds the damage, you can restore it permanently without touching a saw. That's what the Abatron Wood Restoration Kit was built to do.
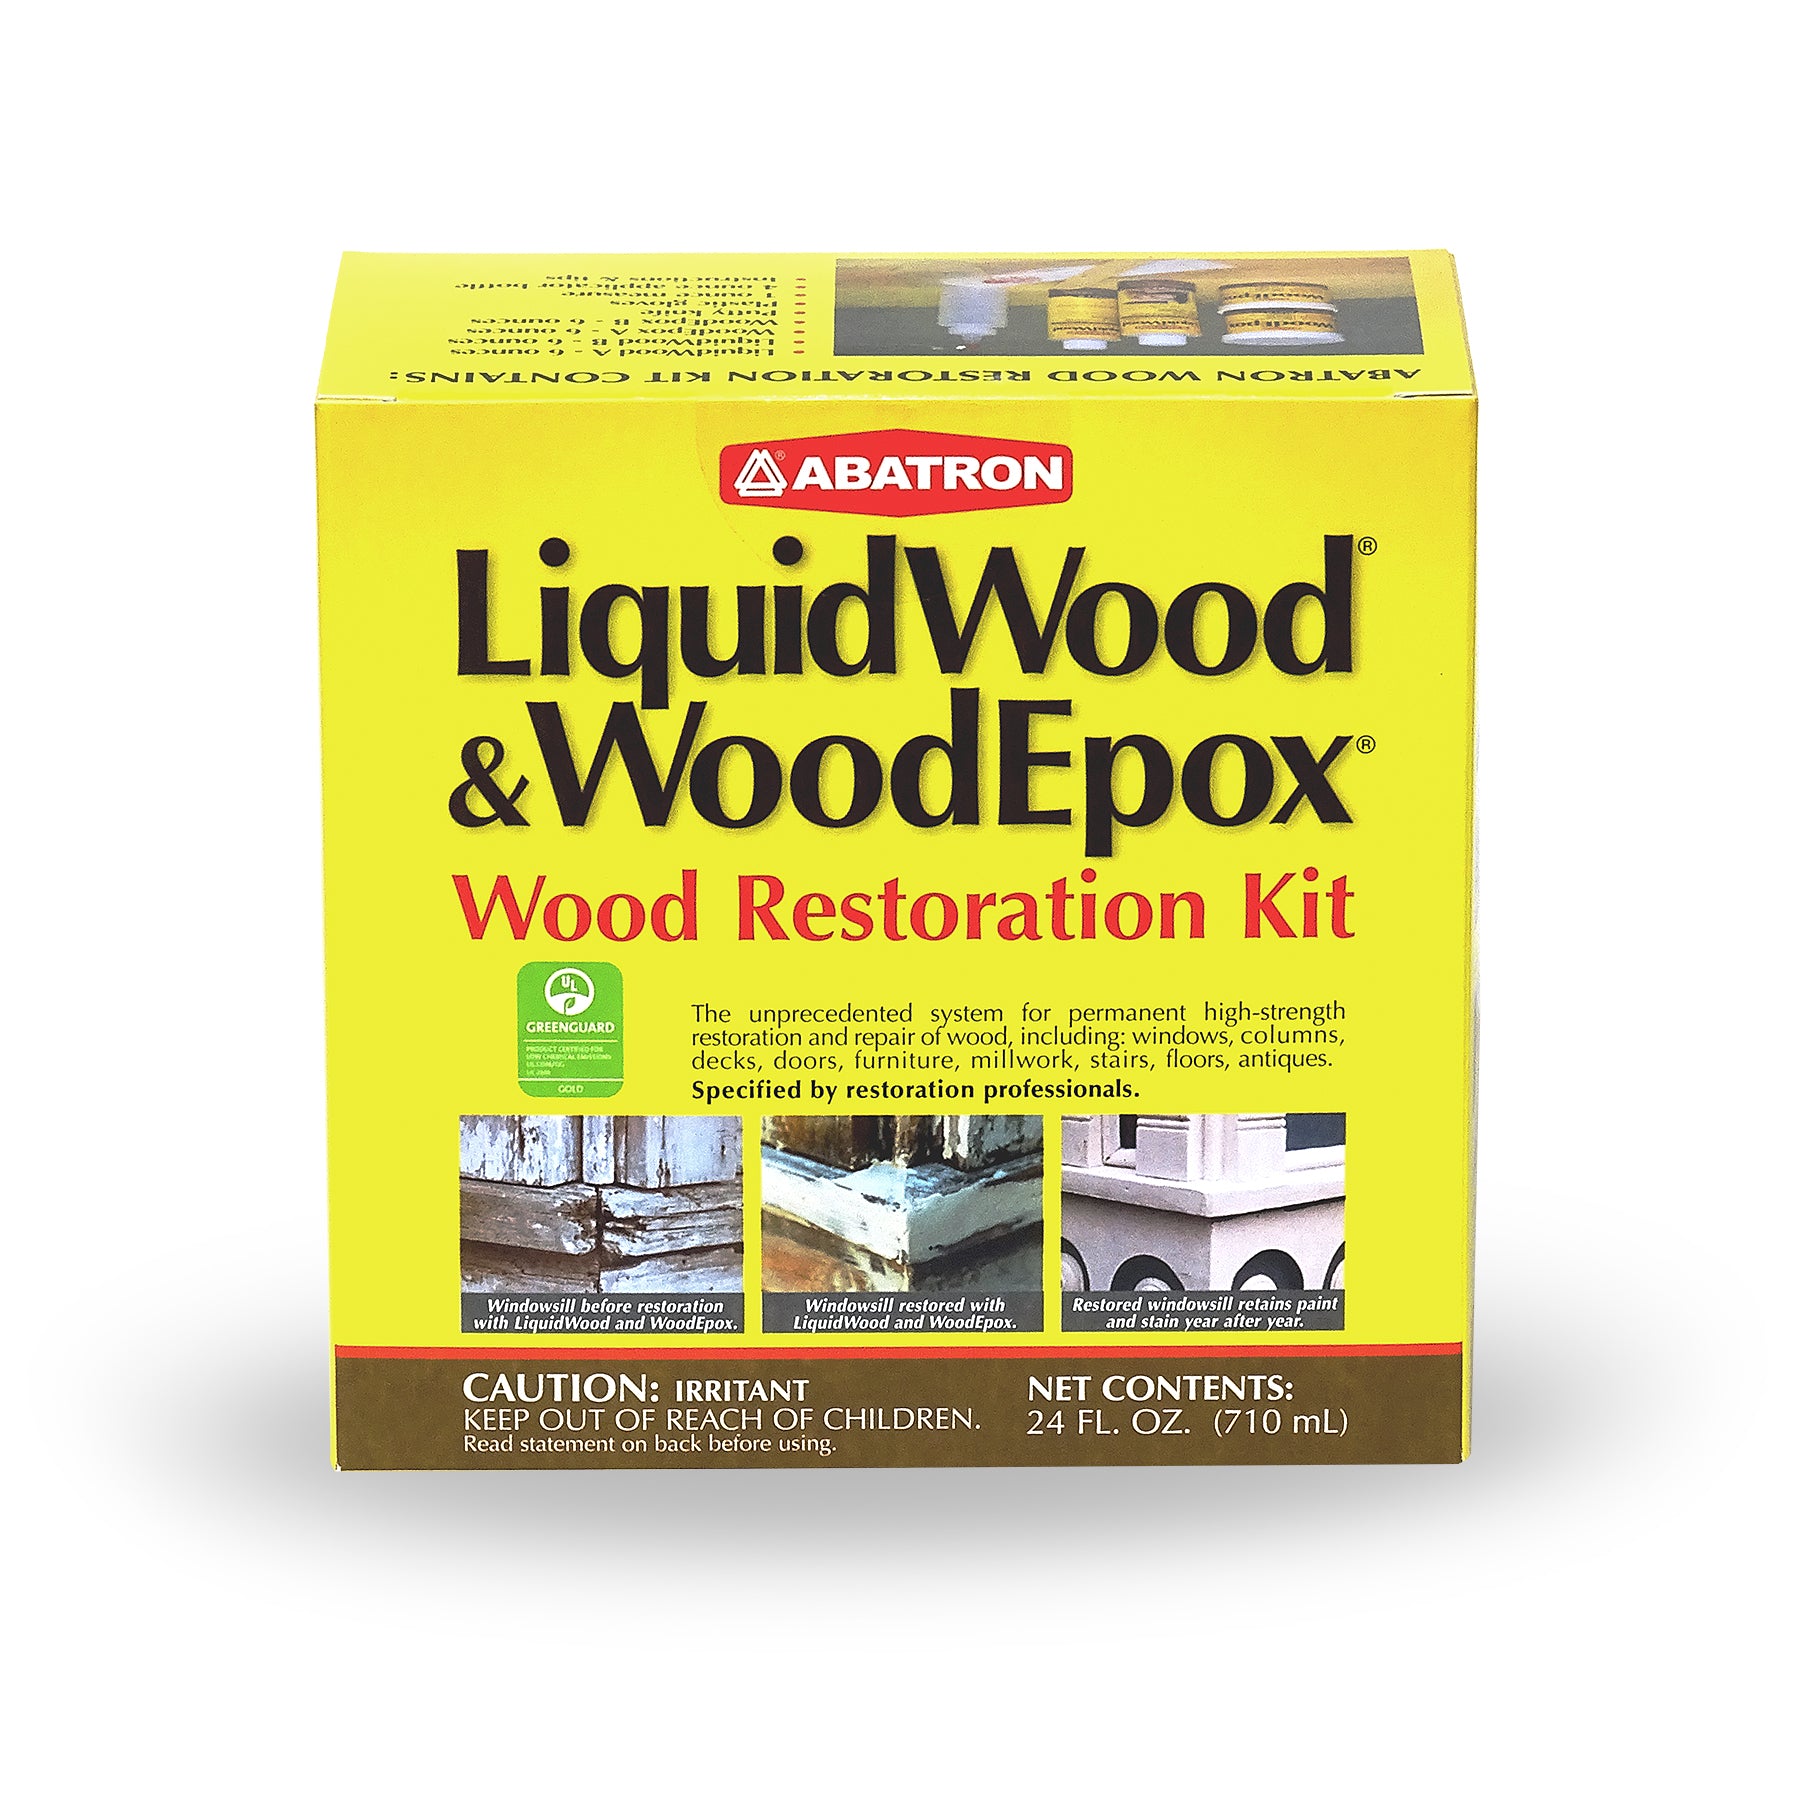
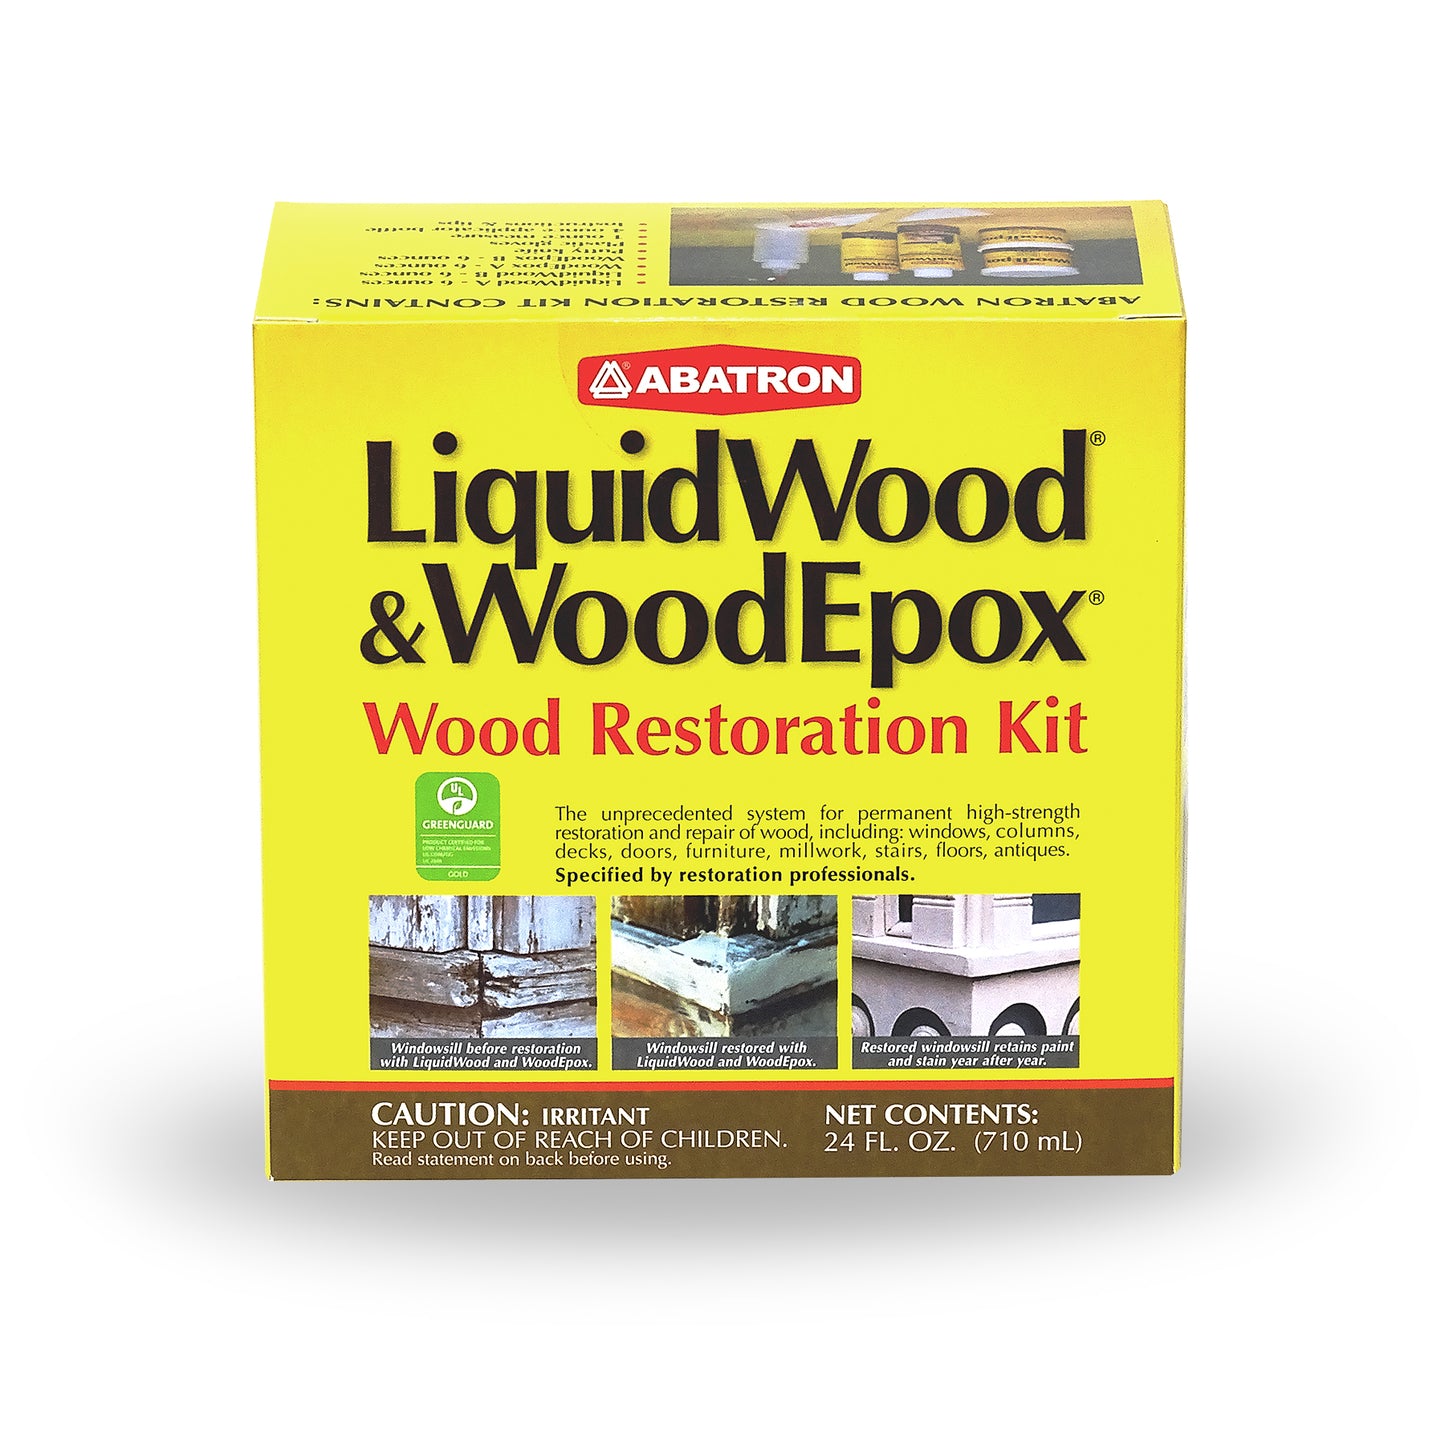
What Comes in the Abatron Wood Restoration Kit?
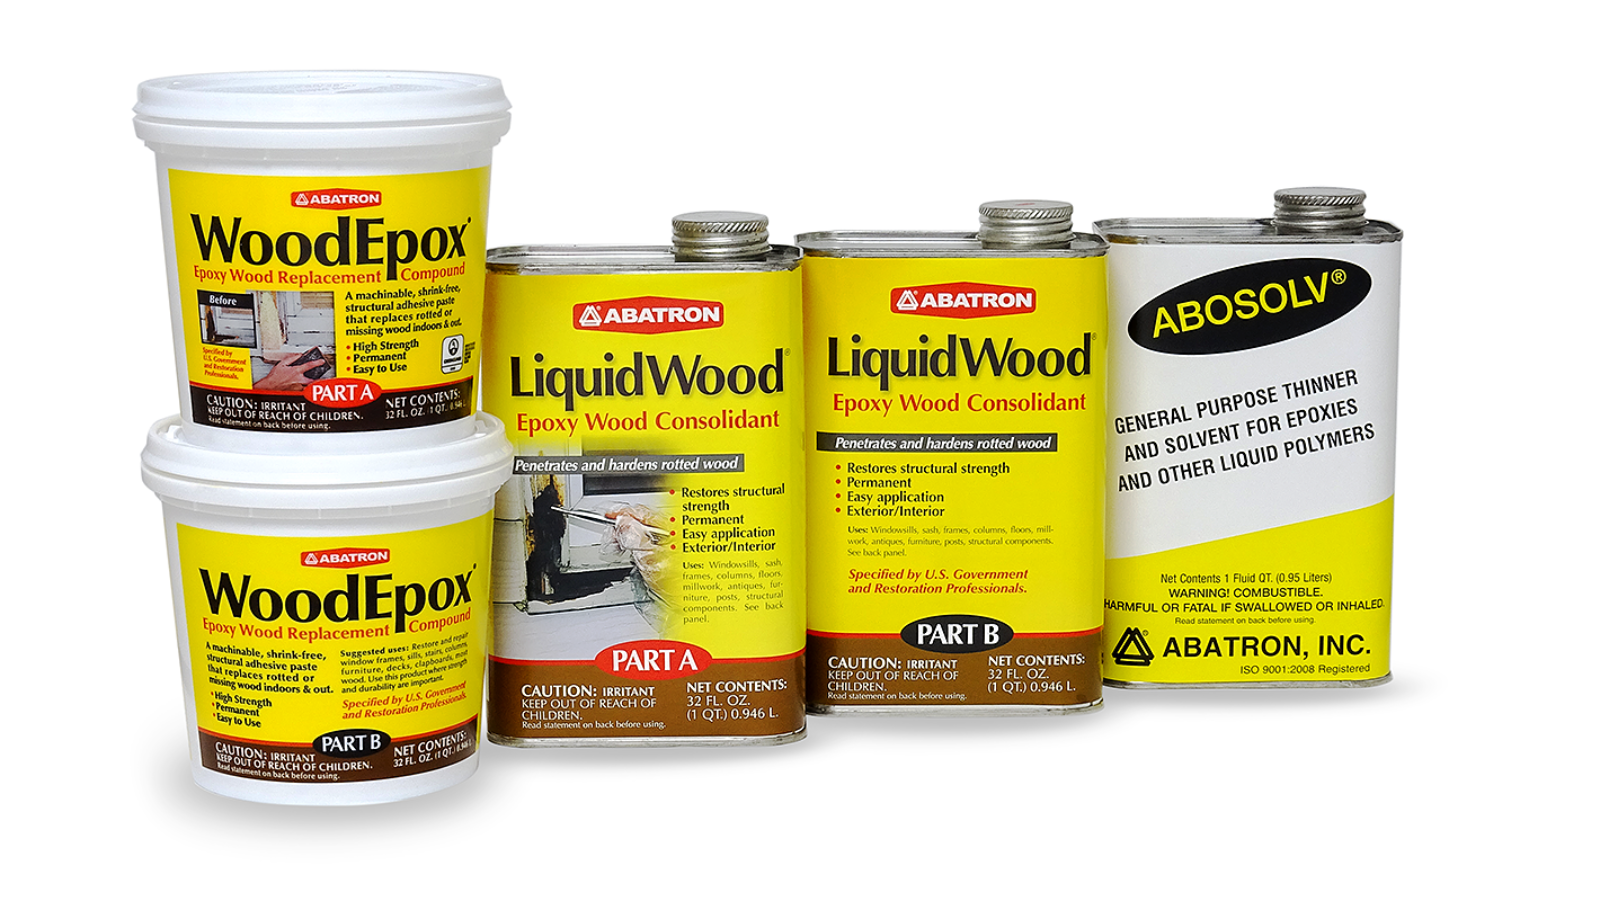
The kit contains three products that work as a complete restoration system.
LiquidWood is a two-part, low-viscosity epoxy consolidant. It soaks deep into soft, spongy, or deteriorated wood fibers and cures into a hard, waterproof plastic. The result is a consolidated repair that is often stronger than the original timber.
WoodEpox is a light-weight, two-part epoxy filler with a non-sag, putty-like consistency. It bonds chemically to LiquidWood-treated wood and fills missing sections without shrinking, cracking, or pulling away from the repair edges.
Abosolv is a general-purpose epoxy thinner and cleanup solvent. Use it to thin LiquidWood when additional penetration is needed, smooth WoodEpox during application, or clean tools and surfaces before the epoxy cures.
The kit is available in four sizes. The 24 oz. kit does not include Abosolv®. The 5-pint, 5-quart, and 5-gallon kits include equal volumes of all five components; both parts A and B of LiquidWood, both parts A and B of WoodEpox, and Abosolv®. Each kit also includes a putty knife, mixing sticks, and instructions.
What Is the Difference Between LiquidWood® and WoodEpox®?
They solve different parts of the same problem. Using one without the other is the most common mistake people make with this system.
LiquidWood® is a consolidant, not a filler. Its job is to penetrate and harden what's already there. The low viscosity formula flows into deteriorated wood fibers, saturating them before curing into a solid, waterproof substrate. It doesn't add volume. It restores structural integrity to wood that lacks stability due to rot, weathering, or general deterioration.
WoodEpox® is a filler, not a consolidant. Its job is to rebuild what's missing. It goes on top of the LiquidWood-treated surface and stays where you put it. The non-sag consistency holds its shape on vertical columns and overhead surfaces without dripping or slumping. Once cured, it can be sawed, drilled, planed, routed, and sanded exactly like real wood.
Think of LiquidWood as the foundation and WoodEpox as the structure built on top of it. Skipping LiquidWood and going straight to filler means applying WoodEpox to soft, failing wood that can't support a permanent bond. The repair will eventually fail at the interface. Do both steps.
Where Each Product Does Its Best Work
LiquidWood® on its own is the right choice when the wood is soft and spongy but largely intact. Many wood features absorb water over the years and become porous without losing their shape. Brush or pour LiquidWood directly onto the affected area, keeping it wet until the wood won't absorb more. When the surface stays glossy and wet rather than soaking in, the wood is saturated. For deep cavities, drill small holes and use a syringe or applicator bottle to get the consolidant into areas a brush can't reach.
WoodEpox® on its own can be used when you're filling a gouge, knot hole, or small void in otherwise solid wood that doesn't show signs of rot or softness. Mix equal parts A and B until the color is fully uniform, press it firmly into the void, and shape it while soft. A small amount of rubbing alcohol on your putty knife helps smooth the surface during application. Slightly overfilling is better than underfilling; you can sand it back once cured. Even when there is no rot or porous wood present, it is always a good idea to “wet” or prime the surfaces to be filled with LiquidWood prior to filling. This practice assists with adhesion of the WoodEpox and adds flexibility to the patched areas.
Both products together are needed for any repair where softness, decay, or missing sections are involved. This is the standard restoration workflow for window sills, porch columns, door frames, exterior trim, balustrades, and structural beams. Use LiquidWood first, then WoodEpox while the consolidant is still tacky, ideally within 30 to 45 minutes.
Step-by-Step: The Restoration Workflow
Step 1: Assess and prepare. Remove soft, crumbly wood with a chisel, screwdriver, or wire brush. Sound wood with good structure can stay. Porous wood that still has form can be treated with LiquidWood rather than being removed. The wood should be dry before you start; below 18% moisture content is ideal. Avoid working in high humidity or temperatures outside the 50 to 90°F range.
Step 2: Apply LiquidWood®. Mix equal parts A and B and allow a 5 to 10 minute induction period before applying. Brush or pour it onto the prepared area and keep applying until the wood is saturated. For deeper voids, use a syringe or applicator bottle to inject consolidant into drilled access holes. Apply WoodEpox before the LiquidWood fully cures.
Step 3: Apply WoodEpox®. Mix equal parts A and B until color is fully uniform. Press firmly into gaps and missing sections. Build up in layers if needed. Shape while soft. Pot life is approximately 20 minutes; the material hardens to the touch within one to two hours depending on temperature.
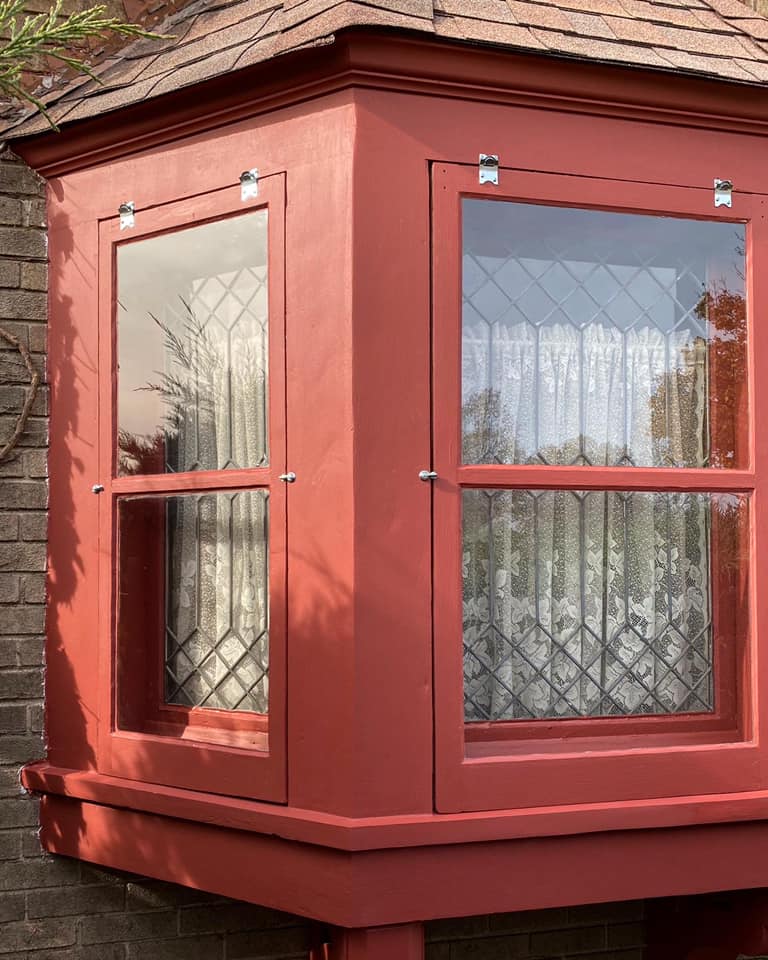
Step 4: Sand and finish. Once fully cured, sand with 80 grit to shape, then 120 grit to smooth. Wipe away dust and apply primer, paint, or stain. Both LiquidWood and WoodEpox are Greenguard® Certified with virtually zero VOCs, making them safe for use in occupied homes and on historic structures.
Is the Repair Worth Making?
Replacing a wood window or architectural column often costs several times more than a proper epoxy repair. Restoration also preserves historic profiles, original material, and detail that replacement simply can't replicate. Choosing to restore rather than replace keeps original materials out of the landfill and reduces the construction waste that comes with tearing out and disposing of salvageable wood.
Historic preservation contractors have used this system on projects ranging from Civil Conservation Corps cabins to federal courthouses. When the work is done correctly, the repair is invisible and the restored element outlasts another round of rot.
The Abatron Wood Restoration Kit is available in four sizes to match the scale of your project. For brushes, syringes, mixing cups, and applicator bottles, browse the full Abatron wood restoration accessories collection.